


Ready to transform your vehicle with a flawless new look? This checklist provides your direct path to a professional-grade finish. Let's begin the first of your car wrap steps: planning.
Key Takeaways
- Plan your car wrap project carefully. Gather all tools and choose the right vinyl. Prepare your workspace to avoid dust and control temperature.
- Clean your car thoroughly before wrapping. Remove all dirt, wax, and oil. Disassemble parts like mirrors and handles for a smooth finish.
- Apply vinyl with a helper. Use a squeegee and heat gun to bond it. Trim extra vinyl and tuck edges for a clean, professional look.
Step 1: Plan Your Project and Gather Tools
Proper planning is the foundation of a successful wrap. These initial car wrap steps ensure you have the right materials and equipment before you even touch your vehicle. A little preparation now prevents major headaches later.
Choosing Your Vinyl Wrap
You must first select the right vinyl for your project. You will choose between two main types: cast and calendared. Cast vinyl is more durable and flexible, making it ideal for complex curves. Calendared vinyl is more budget-friendly and works well on flat surfaces.
| Feature | Calendared Vinyl | Cast Vinyl |
|---|---|---|
| Lifespan | 1-2 years outdoors | 5-12 years outdoors |
| Cost | More affordable | Higher initial cost |
| Conformability | Best for flat surfaces | Excellent for complex curves |
For DIY installers, brands like 3M, VViViD, and Ravoony are excellent choices. They often include air-release technology, which helps you achieve a bubble-free application.
The Essential Tool Rundown
You need a specific set of tools for a professional finish. Your basic toolkit should include:
- A felt-tipped squeegee
- A heat gun or torch
- Vinyl wrap cutting tape
- A precision knife with snap-off blades
- Wrap gloves
- Measuring tape
- Magnets to hold the vinyl in place
Note: You can purchase these items individually or as a kit. A beginner's "Wrap Tool Kit - Lite" often costs around $75, while more comprehensive starter kits can be closer to $190.
Safety Gear You'll Need
Safety should always be your top priority. Protect yourself during the installation process. Always have the following gear on hand:
- Safety glasses
- Chemical-resistant gloves for handling cleaners like isopropyl alcohol
- Cut-resistant gloves for trimming the vinyl
Step 2: Prepare Your Workspace
Your environment is just as important as your tools. A controlled workspace prevents contamination and helps the vinyl adhere correctly. You will set yourself up for success by preparing your space before you begin.
Find an Ideal Location
You should find a clean, enclosed space for your project. A garage or workshop is the perfect choice. Working outdoors creates significant risks for your wrap. Direct sunlight and UV radiation can cause the vinyl's color to fade and its glossy finish to become dull. Strong winds also pose a threat. They can carry dust and debris that will get trapped under your film, creating bumps and scratches. An indoor location protects your project from these elements.
Control Temperature and Dust
You must manage the climate in your workspace. The ideal temperature for applying vinyl is between 60°F and 80°F (15°C to 27°C). This range keeps the material pliable and easy to work with.
- Too Cold: Temperatures below 60°F make the vinyl rigid and difficult to apply.
- Too Hot: Temperatures above 90°F can cause the vinyl to overstretch and distort.
Humidity also affects adhesion. You should work in an environment with less than 50% relative humidity. Excess moisture in the air can prevent the adhesive from bonding properly.
Pro Tip: 🧹 Before you start, sweep and then mop the floor with water. This simple step traps dust and prevents it from becoming airborne while you work.
Set Up Your Lighting
Excellent lighting is non-negotiable. You need to see every inch of the surface clearly to spot imperfections like bubbles or wrinkles. Poor lighting creates shadows that can easily hide these small flaws. Use bright, diffused overhead lights combined with portable LED work lights. You can move the portable lights around the vehicle to illuminate each panel from different angles, ensuring a flawless application.
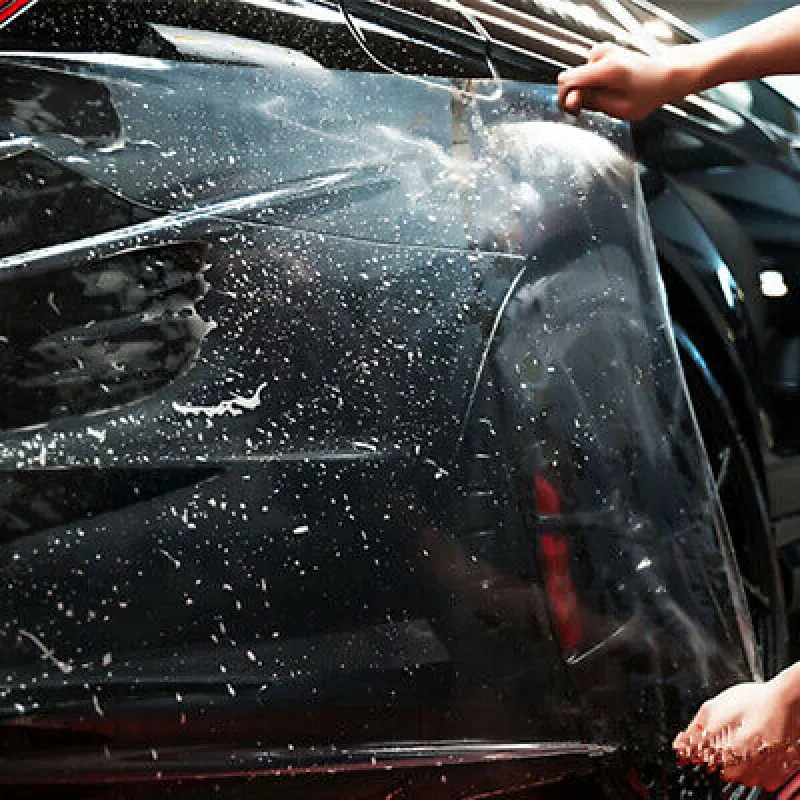
Step 3: Deep Clean and Decontaminate the Vehicle
Vinyl wrap only sticks to a perfectly clean surface. You must remove every trace of dirt, wax, and oil for a successful installation. This step ensures the vinyl adhesive can form a strong, lasting bond with your vehicle's paint.
The Two-Bucket Wash Method
You should start with a thorough wash. The two-bucket method is a professional technique that prevents scratches.
- Fill one bucket with car wash soap and water.
- Fill the second bucket with plain water for rinsing.
Dip your wash mitt into the soapy water and clean a small section of the car. Before getting more soap, rinse the dirty mitt in the plain water bucket. This process traps dirt in the rinse bucket and keeps your soapy water clean.
Use a Clay Bar for a Smooth Surface
Washing removes surface dirt, but a clay bar removes embedded contaminants. These are tiny particles you can feel but not see. Spray a clay lubricant on a small panel. Then, glide the clay bar back and forth over the lubricated area. You will feel the surface change from rough to glass-smooth as the clay picks up impurities.
Important Tip: ⚠️ If you drop your clay bar on the ground, throw it away. A dropped bar picks up grit that will severely scratch your paint.
Final Wipe-Down with Isopropyl Alcohol
The final decontamination step is crucial. You will wipe down every panel with an isopropyl alcohol (IPA) solution. This removes any remaining waxes, oils, or residues from your hands. You can mix your own solution with distilled water. The right concentration depends on your car's condition.
- General Prep: Use a 15% IPA solution for a final clean.
- Wax Removal: Mix a 50% IPA solution to strip old waxes or sealants.
- Tough Grease: A 70% IPA solution works best for stubborn oil spots.
After this wipe-down, your vehicle is finally ready for vinyl.
Step 4: Disassemble Obstacles for a Seamless Finish
You want your wrap to look like a paint job. Removing certain parts is the secret to achieving that seamless, professional quality. This step allows you to tuck vinyl edges deep into panel gaps, creating a finish that is both clean and durable.
Remove Mirrors, Handles, and Emblems
You should remove any hardware that obstructs a body panel. This gives you a clean surface to work on. Common parts to remove include:
- Side mirrors
- Door handles
- Badges and emblems
- Antennas
- Headlights and taillights
Removing these items prevents you from making difficult cuts around them. It also stops the vinyl from peeling up at the edges over time.
Label and Store Parts Safely
You must keep all your removed parts organized. A lost screw or clip can bring your project to a halt. Use small plastic bags or containers for each component. Label every bag clearly with the part's name and location (e.g., "Driver's Side Mirror Screws"). This simple habit makes reassembly much faster and less stressful.
Pro Tip: 📸 Take photos or a short video on your phone as you disassemble each part. This creates a visual guide for you to follow when it's time to put everything back together.
When to Avoid Disassembly
Sometimes, leaving a part on the vehicle is the smarter choice. Modern cars often have complex sensors and wiring integrated into mirrors and handles. Attempting to remove them without experience can be risky. You should consider avoiding disassembly if you face these challenges:
- High risk of breaking fragile plastic clips during removal.
- Significant extra time needed for removal and reinstallation.
- Lack of specialized knowledge for your specific vehicle model.
- Potential to compromise vehicle integrity or electronic systems.
In these cases, you can use knifeless tape to create clean trim lines around the obstacle. This technique is safer than risking costly damage.
Step 5: Measure Twice, Cut Once
This step bridges the gap between preparation and application. Accurate measurements are the key to minimizing waste and ensuring you have enough vinyl to cover each panel perfectly. The old saying, "measure twice, cut once," is your mantra here.
How to Measure Each Body Panel
You need to measure each body panel individually. Use your measuring tape to find the longest and widest points of a panel, such as the hood, roof, or a door. Remember to follow the contours of the car.
- Measure from the highest point to the lowest point.
- Measure from the furthest left point to the furthest right point.
- Always round your measurements up to the nearest inch.
This method ensures you account for the curves and recesses that require more material than a simple flat measurement would suggest.
Add Bleed for Trimming
You must add extra material, known as "bleed," to every cut. This provides a safe margin for error and gives you something to hold onto while stretching the vinyl. For vehicle wraps, you should add six inches of bleed material to both the front and back edges of your measurement. This extra vinyl is crucial for wrapping around the vehicle's curvature and for effectively pulling the film during installation.
Pro Tip: 📏 It is always better to have too much vinyl than not enough. A little extra material can be trimmed away, but you cannot add more to a piece that is cut too short.
Make Your First Cuts
Now you can make your initial cuts. Roll out your vinyl on a clean, flat surface. Transfer your measurements (including the bleed) onto the back of the vinyl film. Use a sharp precision knife and a straight edge to make your cuts. A fresh blade ensures a clean cut and prevents tearing the material. These large, rough-cut pieces are now ready for you to apply to each corresponding body panel.
Step 6: The Core Car Wrap Steps - Applying the Vinyl
You have reached the most exciting part of the project. These core car wrap steps are where your vehicle's transformation truly happens. With your vinyl piece cut, you are ready to apply it to the panel.
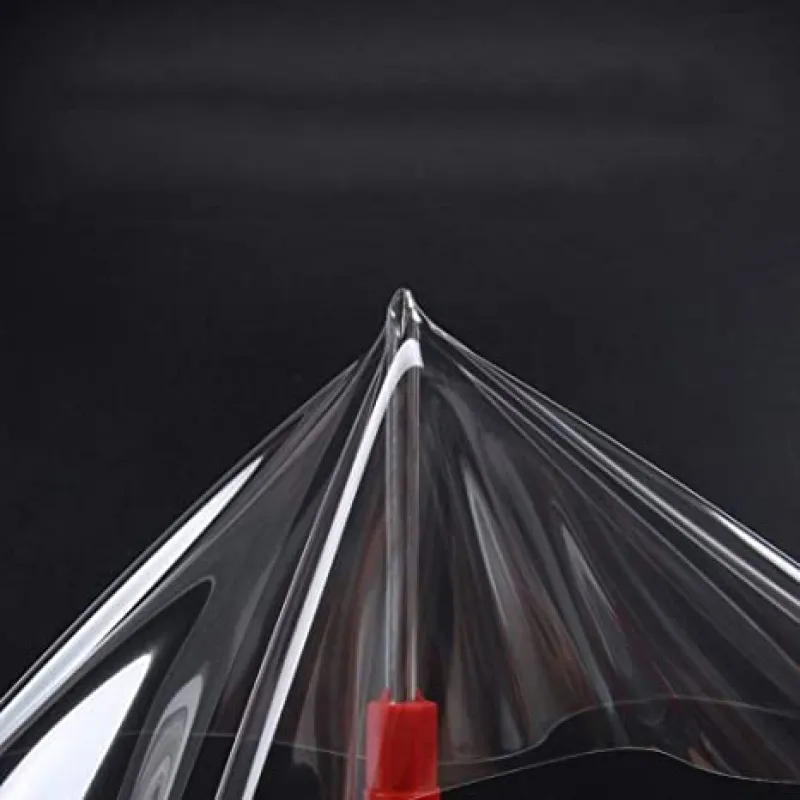
Position the Vinyl with a Helper
You should not attempt this step alone. Ask a helper to assist you. First, carefully peel the backing paper away from the vinyl film. Each of you should hold two corners of the sheet. Together, you will carry the vinyl and gently drape it over the body panel. Your goal is to position the material so the bleed covers all edges of the panel. Keep the vinyl from touching the car's surface for now.
Create a "Glass" Surface
Next, you will create a perfectly smooth application surface. Pull the vinyl taut from all four corners. This tension removes all wrinkles and creases from the film. The vinyl should float just above the panel, looking like a sheet of colored glass. This technique is fundamental for achieving a bubble-free finish. It prepares the material for a smooth bond with the vehicle.
Pro Tip: 💡 Use your wrap magnets to hold the "glassed" vinyl in place on the surrounding panels. This frees up your hands and maintains tension while you work.
Anchor the Vinyl
Now you will create your starting point. Lightly press down on the center of the vinyl with your gloved hand or a squeegee. This single point is your "anchor." It secures the film to the panel. From this anchor, you will work your way outwards toward the edges. This methodical approach pushes air out from the center and prevents bubbles from getting trapped under the film.
Step 7: Squeegee and Heat for a Flawless Bond
You have anchored the vinyl. Now you will bond it to the panel using your squeegee and heat gun. These car wrap steps require a delicate touch and methodical work. Your goal is to create a smooth, bubble-free surface that perfectly conforms to the vehicle's shape.
Proper Squeegee Technique
Your squeegee is your primary application tool. You must use it correctly to avoid scratches or bubbles. Hold the squeegee at a 30 to 45-degree angle to the surface. This angle allows you to apply firm, even pressure. You will work from your center anchor point outwards, using overlapping strokes. This motion pushes air toward the edges of the vinyl.
Important: ⚠️ Do not use too much pressure, as it can stretch or tear the film. Too little pressure will fail to activate the adhesive, leaving air trapped underneath.
Work with Curves and Recesses
Complex curves and deep recesses require heat. Heat makes the vinyl pliable and easy to shape. Gently warm the material with your heat gun until it reaches approximately 50°C (122°F). At this temperature, the vinyl becomes soft. You can then carefully stretch it over the curve or into the recess. Once the vinyl is in position, use your squeegee to lock it into place before it cools.
Use a Heat Gun Correctly
Proper heat gun use is critical for a durable finish. Always keep the heat gun moving to distribute heat evenly and prevent scorching the vinyl. After applying the vinyl to a panel, you must perform a final heating. You need to heat the entire surface, especially edges and curves, to between 90°C and 100°C (194°F - 212°F). This high temperature breaks the vinyl’s "memory," which prevents it from shrinking back to its original flat shape. This final heating ensures your wrap stays put for years.
Step 8: Trim Excess Vinyl and Tuck Edges
With the vinyl applied, you are now ready for the finishing touches. These car wrap steps involve precise trimming and tucking. This process transforms your work from a vinyl application into a seamless, paint-like finish. Patience here is the key to a professional result.
The Art of the Relief Cut
You will encounter areas where the vinyl bunches up, especially around corners and complex curves. A relief cut is your solution. You make a small, strategic cut into the excess vinyl. This cut releases tension and allows the material to lay flat against the surface. Make these cuts carefully, pointing the blade away from the main panel. This simple technique prevents wrinkles and ensures the vinyl conforms perfectly.
Trim Along Panel Gaps
You need to trim the excess vinyl along panel gaps and body lines. Using a blade directly on your car risks scratching the paint. A safer and more precise method is using knifeless tape. You apply this tape before the vinyl. After squeegeeing the vinyl over it, you simply pull the tape's filament up through the vinyl. This creates a perfect cut without a blade ever touching your car. Different tapes serve different purposes.
- Finish Line: Use this for most general trimming needs.
- Design Line: This flexible tape helps you create sharp, custom designs.
- Precision Line: This tape has an ultra-fine filament for cutting tougher films.
Tuck Edges for a Painted Look
After trimming, you will have a small flap of excess vinyl along each edge. You must tuck this material for a clean look. Use a tucking tool or the hard edge of your squeegee. Gently push the vinyl edge into the gap between panels or under trim pieces. This action hides the edge of the film completely.
Pro Tip: ✍️ Always leave about a quarter-inch (5-6 mm) of vinyl past the edge of the panel. This gives you just enough material to tuck securely without creating bulk.
Step 9: Post-Heat, Reassemble, and Cure
You have reached the final stage of your project. These last car wrap steps ensure your hard work lasts for years. You will lock in the vinyl, put your vehicle back together, and learn how to care for your new finish.
The Importance of Post-Heating
Post-heating is a critical step you cannot skip. It permanently sets the vinyl's adhesive and removes its "memory." This process prevents the film from shrinking or lifting away from curves and edges over time. You must heat the entire wrapped surface, paying special attention to edges and recesses.
Pro Tip: 🌡️ Use an infrared thermometer to verify the surface temperature. You need to heat most vinyl films to a range between 175°F and 195°F. Some brands have different needs; for example, TeckWrap requires a lower temperature of 100-110°F. Always check your specific vinyl's guidelines.
Reinstall Removed Parts
Now you can reassemble your vehicle. Refer to the photos you took during disassembly in Step 4. This visual guide will help you put everything back correctly. Work slowly and carefully when reinstalling mirrors, handles, and emblems. You want to avoid scratching or damaging your brand-new wrap. Take your time to ensure every screw and clip is securely back in its place.
Curing Time and Aftercare
Your wrap needs time to cure fully. The adhesive must form a final, strong bond with the vehicle's surface. You should not wash the car for at least one week. After the curing period, proper care is essential. Avoid automatic car washes with harsh brushes. To prevent damage, you must never use certain cleaning products on your wrap:
- Oil-based cleaners or solvents
- Abrasive polishes or cutting compounds
- Engine degreasers or orange oil
- Traditional waxes, especially on matte or textured films
Proper aftercare is the final key to a long-lasting, beautiful finish.
Congratulations on completing your car wrap installation! You achieved a professional finish by following these steps with patience. Proper aftercare is the final key to success. A well-maintained wrap can protect your paint and look great for five to seven years, making your effort truly worthwhile.
FAQ
Can you wrap a car with peeling paint?
You should not wrap over peeling paint. The vinyl will fail to stick properly. Removing the wrap later will pull more paint off and cause additional damage.
How long does a car wrap last?
A quality wrap can last five to seven years. Proper installation and regular aftercare are essential to its lifespan. You must maintain it correctly for best results.
Can you use a car wash with a vinyl wrap?
You must avoid automatic car washes. Their harsh brushes can scratch or lift the vinyl's edges. Hand washing is the safest method for cleaning your wrap.


0 Comments