

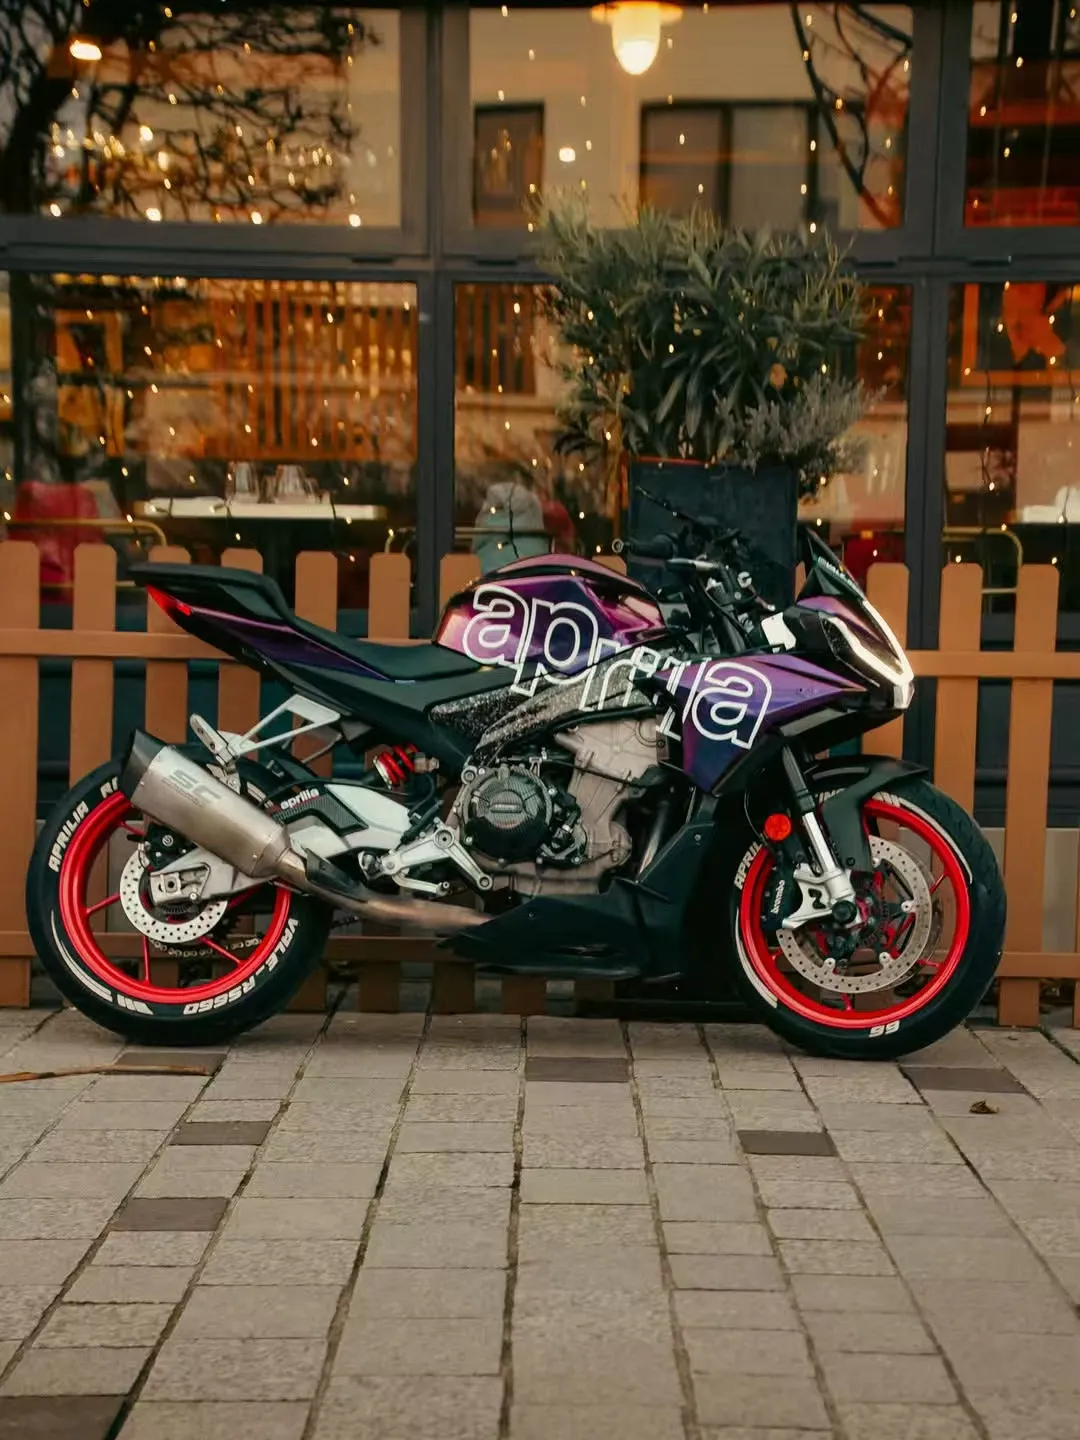
Mastering advanced wrapping techniques for your wrap motorcycle tank is essential for achieving a stunning look. You will face challenges such as complex curves and contours that can lead to bubbles and wrinkles if not handled correctly. A flawless finish not only enhances aesthetics but also protects your bike's original paint and boosts its resale value.
Wrapping Preparation
Materials and Tools
Before you begin wrapping your motorcycle tank, gather the right materials and tools. Using high-quality automotive vinyl is crucial for achieving a professional finish. Here’s a list of essential items you will need:
|
Material/Tool |
Description |
|---|---|
|
High-performance vehicle wraps |
Durable cast vinyl films from brands like 3M, Avery Dennison, or Ravoony. |
|
Heat guns |
Used to make the vinyl pliable and conform to curves. |
|
Squeegees |
Helps push out air bubbles and ensure adhesion. |
|
Templates or plotters |
For precise cutting of vinyl panels to size. |
Surface Cleaning
Proper surface preparation is vital for optimal adhesion. You must ensure that the motorcycle tank is clean and free from contaminants. Follow these steps for effective surface cleaning:
-
Use alcohol wipes to clean the surface thoroughly.
-
Ensure the surface is free from grease or wax.
-
Employ meticulous cleaning processes with appropriate solvents.
By taking these steps, you enhance the chances of a successful vinyl wrapping installation. Remember, a clean surface allows the vinyl to adhere better, reducing the risk of bubbles and wrinkles during application..
Complex Curve Techniques
Heating Vinyl
Heating vinyl is a crucial step in the wrapping process, especially when dealing with complex curves. Proper heating allows the vinyl to become pliable, enabling it to conform to the intricate shapes of your motorcycle tank. When you heat the vinyl, you reduce the risk of tearing and ensure a smoother application.
To achieve optimal results, maintain the heating temperature between 90°C to 110°C (194°F to 230°F). This range allows the vinyl to stretch without losing its integrity. Here are some key points to remember:
-
Use a heat gun: A heat gun provides controlled heat, allowing you to focus on specific areas.
-
Avoid overheating: Too much heat can warp the vinyl or damage the paint underneath.
-
Test the vinyl: Before applying it to your motorcycle, test the heating on a small piece to gauge how it reacts.
Step-by-Step Application
Now that you understand the importance of heating vinyl, let’s go through a step-by-step process for wrapping your motorcycle tank effectively:
-
Preparation: Ensure the motorcycle's surface is clean, dry, and free of grease or wax.
-
Measure and Cut: Measure the vinyl slightly larger than the area to be covered. This extra material allows for adjustments during application.
-
Positioning: Position the vinyl on the surface without removing the backing entirely. This helps you visualize the placement.
-
Adhesion: Peel the backing paper gradually and use a squeegee to smooth the vinyl onto the tank. Start from the center and work your way outwards to push out air bubbles.
-
Heating: Heat the vinyl with a heat gun while stretching it around curves. This step is vital for ensuring the vinyl conforms to the tank's shape.
-
Finishing Touches: Make precise cuts along edges and post-heat the applied wrap to secure it in place.
By following these application techniques, you can achieve a professional installation that enhances the aesthetics of your motorcycle. Remember, practice makes perfect, so don’t hesitate to refine your skills as you work with different designs and styles.
Common Mistakes to Avoid
While applying vinyl, be aware of common mistakes that can hinder your results:
-
Improper Surface Preparation: Failing to clean the surface can lead to poor adhesion, resulting in bubbles and lifting edges.
-
Handling of Vinyl: Overstretching can thin the material or cause tears, while not stretching enough can create wrinkles.
-
Alignment Issues: Misalignment can create visible seams and gaps.
-
Heat Application: Incorrect use of heat can damage the vinyl or paint, while proper heating helps conform the material to curves.
-
Post-Installation Heating: Neglecting this step can lead to lifting or peeling of the vinyl.


0 Comments