


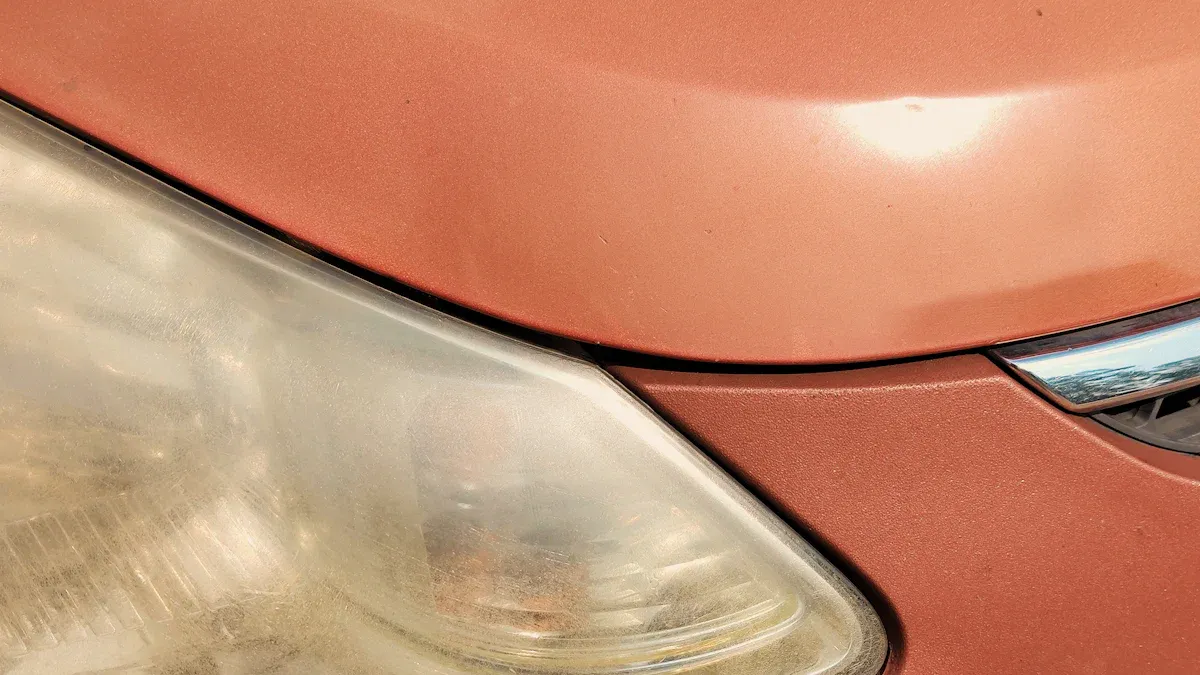
Maintaining your car wrap is essential for preserving its appearance and longevity. Common types of damage include fading from direct sunlight, scratches from road debris, and peeling due to temperature fluctuations. Regular care and timely car wrap repair can help keep your wrap looking fresh and vibrant.
Scratch Repair
Identifying Scratches
Scratches on your vinyl wrap can occur for various reasons. Understanding these causes helps you prevent future damage. Here are some common culprits:
- Long-term exposure to UV radiation can deteriorate the vinyl wrap, making it more susceptible to scratches.
- Contact with rough surfaces, such as those found in automatic car washes or tree branches, can lead to scratches on the vinyl wrap.
- Environmental factors like extreme weather, contaminants, and chemicals can compromise the state of a wrap, leading to scratches.
- Driving styles that involve contact with rough or abrasive surfaces can cause scratches.
- Poor installation quality can lead to vulnerabilities in the wrap, making it more prone to scratches.
- Inadequate maintenance practices can contribute to the deterioration of the wrap, increasing the likelihood of scratches.
Repair Techniques
-
Clean the Area: Start by cleaning the scratched area thoroughly. Use a gentle soap and water solution to remove dirt and debris. This step ensures that you do not introduce more scratches during the repair process.
-
Warm the Vinyl: Use a heat gun to gently warm the scratched area. This technique helps the vinyl regain its original texture and flexibility. Be careful not to overheat the vinyl, as this can cause further damage.
-
Apply Conditioner or Polish: After warming the vinyl, apply a vinyl wrap conditioner or polish. This product restores shine and helps blend the repaired area with the rest of the wrap.
-
Inspect Your Work: After applying the conditioner, inspect the area to ensure the scratch is less visible. If necessary, repeat the heating and conditioning process until you achieve the desired result.
Tip: Avoid using conventional tools like sandpaper or auto polish. These can worsen the scratch and damage the wrap further.
Peeling Vinyl Wrap

Causes of Peeling
Peeling vinyl wrap can occur for several reasons. Here are some common factors that contribute to peeling:
- UV Rays: Long-term exposure to sunlight can lead to fading, cracking, and peeling. The breakdown of pigments and weakening of adhesive occurs over time.
- Moisture: Rain and high humidity can weaken the adhesive. This moisture can trap under the wrap, leading to delamination and water stains.
- Extreme Temperatures: High heat can dry out the vinyl, while cold temperatures can make it brittle. Both conditions increase the risk of cracking and adhesion issues.
- Physical Damage: Dust and debris can cause micro-abrasions. These abrasions can lead to scratches and lifting of the vinyl edges.
Repair Methods
Assessing the severity of peeling is crucial before attempting any repairs. Follow these steps to evaluate the damage:
- Assess the Damage: Inspect the affected area thoroughly. Determine if the damage is superficial, like scratches, or more severe, such as tears. Understanding the extent of the damage will guide your repair approach.
- Recognize Underlying Causes: Consider environmental factors, improper care, accidental contact, installation errors, and wear and tear. These can all contribute to peeling.
Once you assess the damage, you can proceed with the following repair methods:
- Address the Issue Immediately: Ignoring peeling can lead to further damage. Prompt action can prevent complications.
- Clean the Affected Area: Use gentle soap and a non-abrasive cloth to clean the area. This step prepares the surface for repair.
- Avoid DIY Fixes: Attempting to fix peeling without proper knowledge can worsen the problem. Instead, consult a professional sign shop for expert advice.
- Inquire About Repair or Replacement Options: Based on the damage, ask about the best course of action. Professionals can provide tailored solutions.
- Ask for Maintenance Tips: After repairs, seek advice on how to maintain your vinyl wrap. Proper care can prevent future issues.
Fading and Restoration
Recognizing Fading
Fading occurs when UV rays from the sun break down the pigments in your vinyl wrap. This process leads to discoloration and dullness over time. Prolonged exposure to sunlight, especially in areas with intense sunlight, accelerates fading. The quality of the wrap material plays a significant role in its resistance to fading. High-quality vinyl wraps, like those from Ravoony, are designed to endure UV rays and harsh weather conditions. If you notice fading or discoloration, it can negatively impact your vehicle's appearance and resale value. Just like chipped paint, a faded wrap suggests neglect, which can deter potential buyers.
How to Restore Shine
Restoring the original look of your faded car wrap involves several steps:
- Assess the Condition: Check the wrap for areas needing attention.
- Clean the Surface: Use a mild soap and a soft cloth to remove contaminants.
- Repair Damage: Fix any tears or bubbles with color-matching vinyl.
- Apply Fresh Vinyl: Carefully apply new vinyl to match the existing color.
- Maintain Regularly: Wash your wrap every 2 to 3 weeks and use protective coatings.
Tip: Store your vehicle indoors to protect it from UV rays and extreme temperatures. This simple action can significantly extend the life of your wrap.
Air Bubble Removal
Understanding Air Bubbles
Air bubbles can form in vinyl wraps during installation due to several factors. Common causes include inadequate surface preparation, hurried application, and insufficient use of tools like squeegees. Dust and moisture can also contribute to bubble formation. These air bubbles not only detract from the aesthetic appeal of your vehicle but can lead to adhesion problems and moisture infiltration over time.
How to Remove Air Bubbles
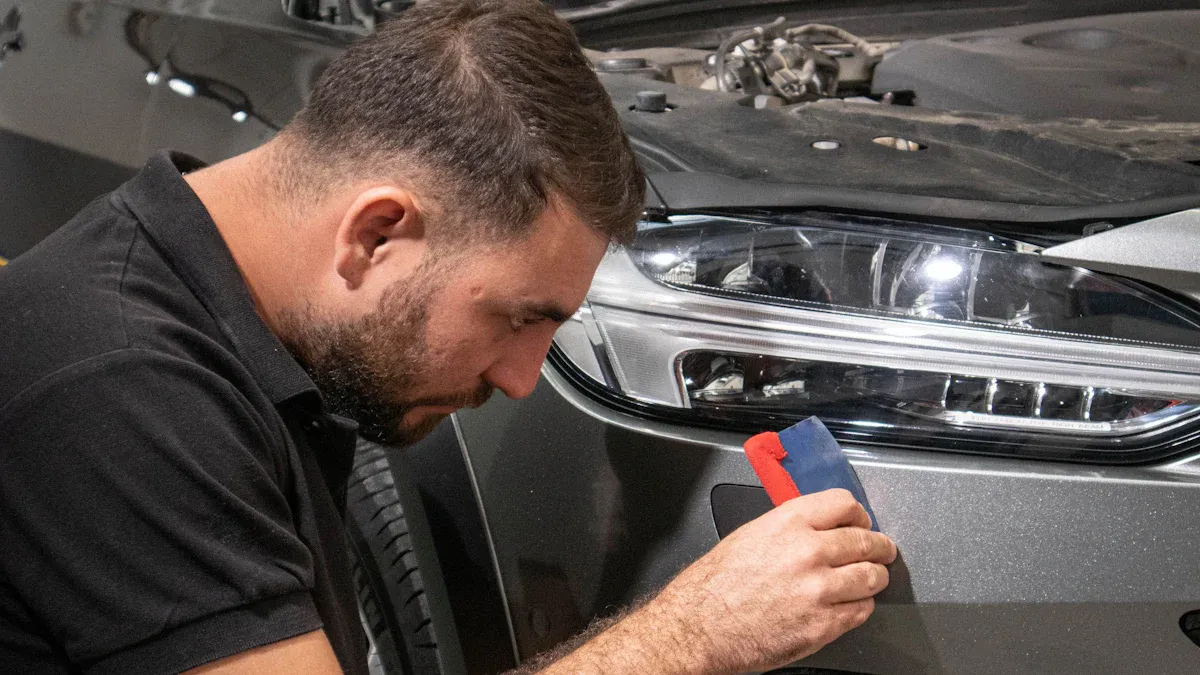
Removing air bubbles from your vinyl wrap is essential for maintaining its appearance. Follow these steps for effective air bubble removal:
-
Use Gentle Heat: If you notice a bubble shortly after wrapping, apply gentle heat from a hairdryer or heat gun. Hold it a few inches away. Warm the area to soften the adhesive, then use a soft cloth or squeegee to press from the center outward.
-
Pinprick Technique: If heat isn't sufficient, carefully use a straight pin or air-release tool to make a tiny hole in the bubble's edge. Press from the outer edge toward the hole to let the air escape.
-
Squeegee Near Edges: For bubbles near the edge of the vinyl, apply slow squeegee pressure toward that edge using a plastic squeegee. Be careful not to stretch or damage the wrap.
Using the right vinyl wrap tools can enhance your bubble removal process. A squeegee like the Best Ravoony 4 Inch Felt Squeegee Vinyl Tools Vinyl Wrap Car Wrap helps push out air bubbles effectively. For stubborn bubbles, a needle can release trapped air without damaging the wrap.
FAQ
What should I do if my car wrap starts to peel?
You should clean the area and consult a professional for repair options. Prompt action prevents further damage.
How can I prevent scratches on my vinyl wrap?
Regularly wash your vehicle and avoid automatic car washes. Use soft cloths to minimize contact with rough surfaces.
How often should I maintain my car wrap?
You should clean your wrap every 2 to 3 weeks. Regular maintenance helps preserve its appearance and longevity.


0 Comments